
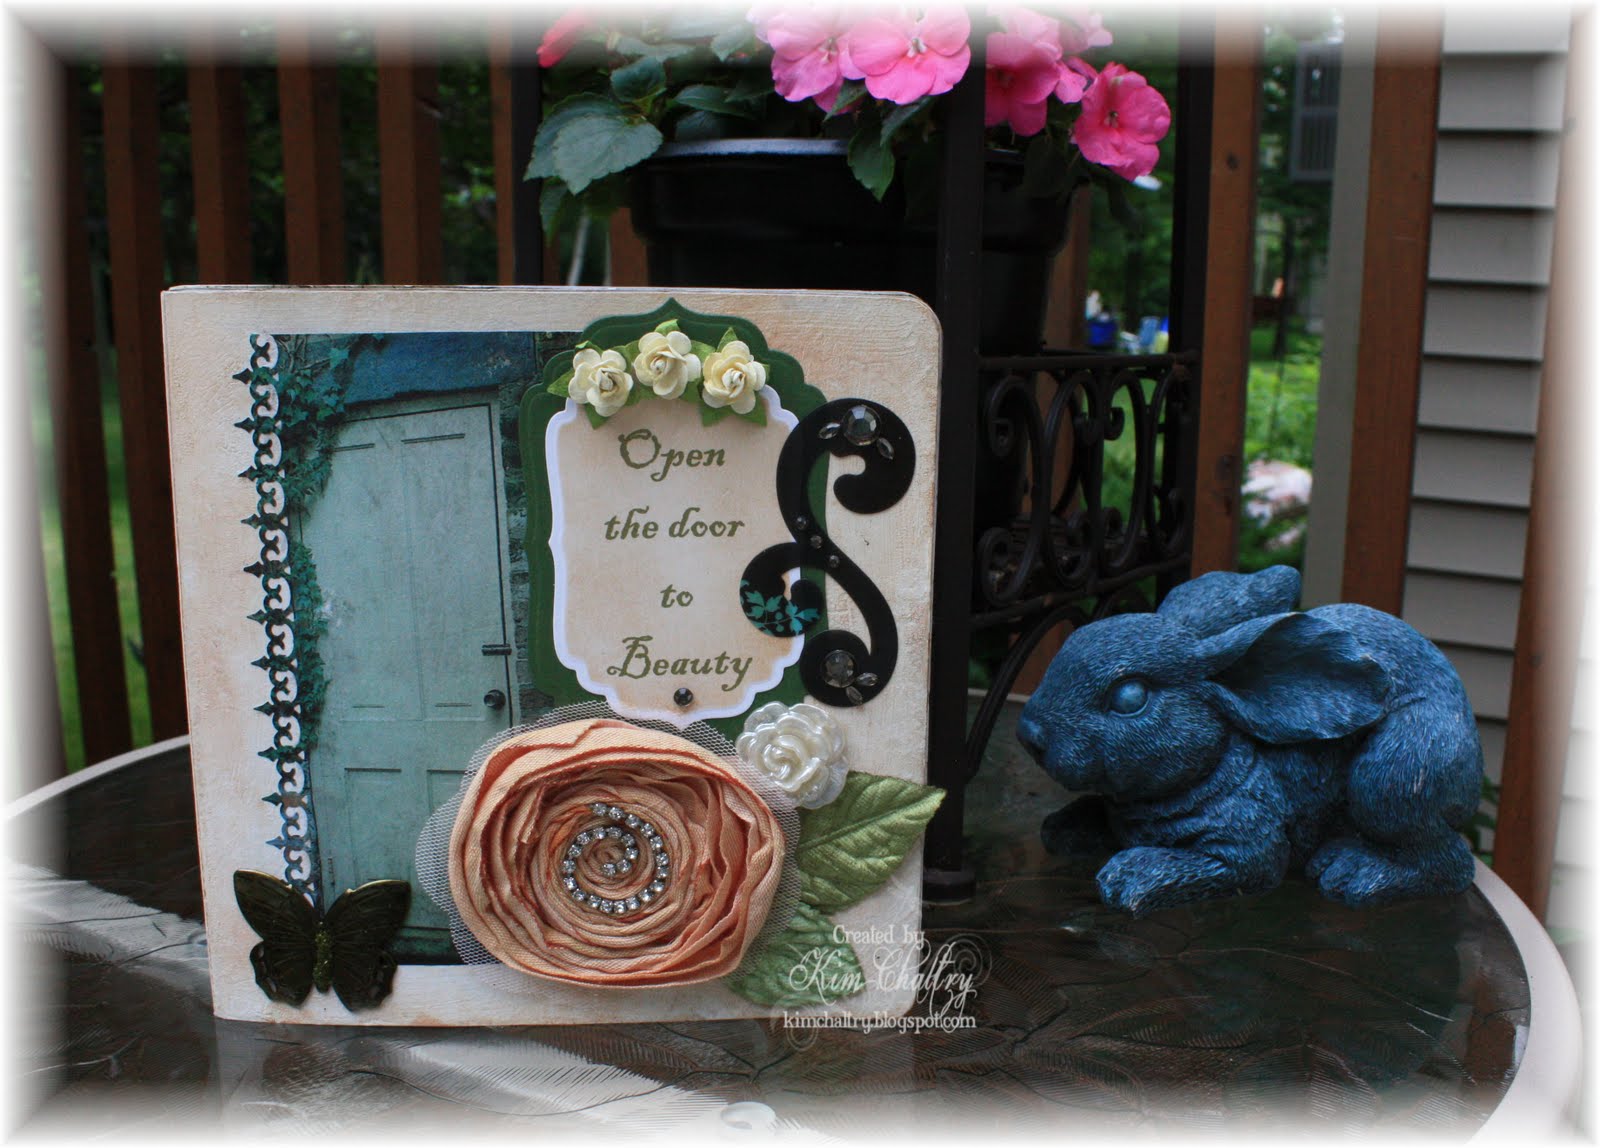
Well it is finally here- My altered book of doors. It is hard to believe this was once a children's hard cardboard book. Altered takes on new meaning here when you can't even see a hint of what it once was. I sanded the pages a bit since they are very shinny and I wanted to make sure I had good contact between my sticky tape and the paper. For the cover I used Distress picket fence crackle paint and then rubbed Distress vintage photo and antique linen ink over it to give it a vintage feel. You can easily use paper for the cover. I printed the sentiment off the computer and the beautiful flower is from Prima.
I had mentioned that I want to make another book with actual pictures of doors that I had taken on a recent trip to Duke University but I decided to use one on the cover from the door of a little building that was out in the courtyard of a bed and breakfast we stayed at in Savannah, Georgia. I edged it with a Martha Stewart punch as I did on almost all of the pictures inside. The images are postcards that a dear friend Kay, had given to me. The number of cards fit the number of pages exactly and it was if it were meant to be.
 All of the inside pages were covered with paper. I kept my color pallet in the greens so it would compliment the foliage and flowers. I didn't want my paper competing with the images. I then layered the images on the different papers to see what paper enhanced the image the best and then I decided which two sets went together so I could place them side-by-side in the book. A little bit of thinking in the beginning but after than it was just a matter of getting into my embellishment stash and deciding what I wanted to used and which page I could incorporate it into.
 I picked up a package of Heidi Swapp overlays on sale at the Mega Meet in Novi last month and now I wished I had grabbed a few more. I used almost the entire package in this book. You will notice them as they are the clear and black images. Of course I had to have a bird and a crown or two.
 The one above are my favorite pages only because of the cottage style of the roses. Notice the crown above the door on the left. The clip on the edge of the page was actually metallic yellow but I colored it with my copper Copic marker.
 I had this tongue depressor and decided to use it as a tag for my sentiment. The burgundy scallop above the image was actually a left over piece from a border after it was punched. I thought it looked like a valance so I used it along the top of the picture. See-never throw anything away that looks useful. I colored the metal flower with my copper Copic and I used a spanish olive Copic marker on the butterfly
 Not that crazy about the last page but I thought the corner overlays looked cool. This was the project that I taught at our last month's stamp club. Everyone really enjoyed it. The ones that haven't altered anything before, were a bit intimidated at first. I think they really appreciated having someone to walk them through it to get them started. I had purposely bought some very small books for those who just thought they could never do a project like this. A larger book can be a bit overwhelming at trying to figure out how to fill the page. If that is the case with you, get a 3x3 book to start with. It will be something that you can tuck onto any table or shelf in the house when your are done.
Well believe it or not, I still have some more work to do out in the gardens. We went to a family wedding up in Traverse City, Michigan last weekend so I didn't get anything accomplished at home. It was a beautiful outdoor wedding and it was nice to spend the weekend my extended family. My DH and I went to a winery owned by one of his distant cousins. It was located up on a bluff over looking the lake. It felt as if you were up in the clouds looking down- absolutely breathe taking. The wine wasn't bad either.
Have fun and enjoy!


No comments:
Post a Comment