
I needed a sympathy card and I have been itching to use this set from JustRite stamps. It is the Thinking of You set and you can find it here at The Stamp Castle. As I mentioned in my last post, they are having a Black Friday Sale until midnight on the 30th so hurry on over. I stamped the sentiment and border in SU- Not Quite Navy and then went over the leaves with a Sakura gelly pen- clear star for a bit of bling. You can see it in more detail in the next photo. The birds were punched from a McGill Birds punch that has two different birds and a wing. Very fun to use. The background is one of my newer Cuttlebug embossing folders- Victoria. The paper is SU Not Quite Navy and the brushed gold is something I found in my scrap drawer. I also used my oval nesties a bit of more bling.


The picture below shows everything that comes in the set. You have to buy the wood block to mount them but you can reuse it for other sets that are the same size. This set uses the
2 1/4" x 3 1/16" oval block.
 This is what the stamps look like. I had mentioned how versatile they are and this is why. See how you can interchange the border with any of the sentiments. You don't even have to use these sentiments. If you have one of the font sets you could make up your own.
All of the sentiments or images come as a complete oval as shown below but if you trim them as I did here you won't have to worry about getting ink smudges or edges when you stamp them. Believe me I highly recommend you trim them. Been there- done that!

This is a picture of what the block looks like and how you mount the stamps. You just push them into the grooves. I wish I had taken a picture of the back of the stamp so you could see what that looks like. The back of the stamp has ridges that fit into the block. It is actually is a tongue and groove system.
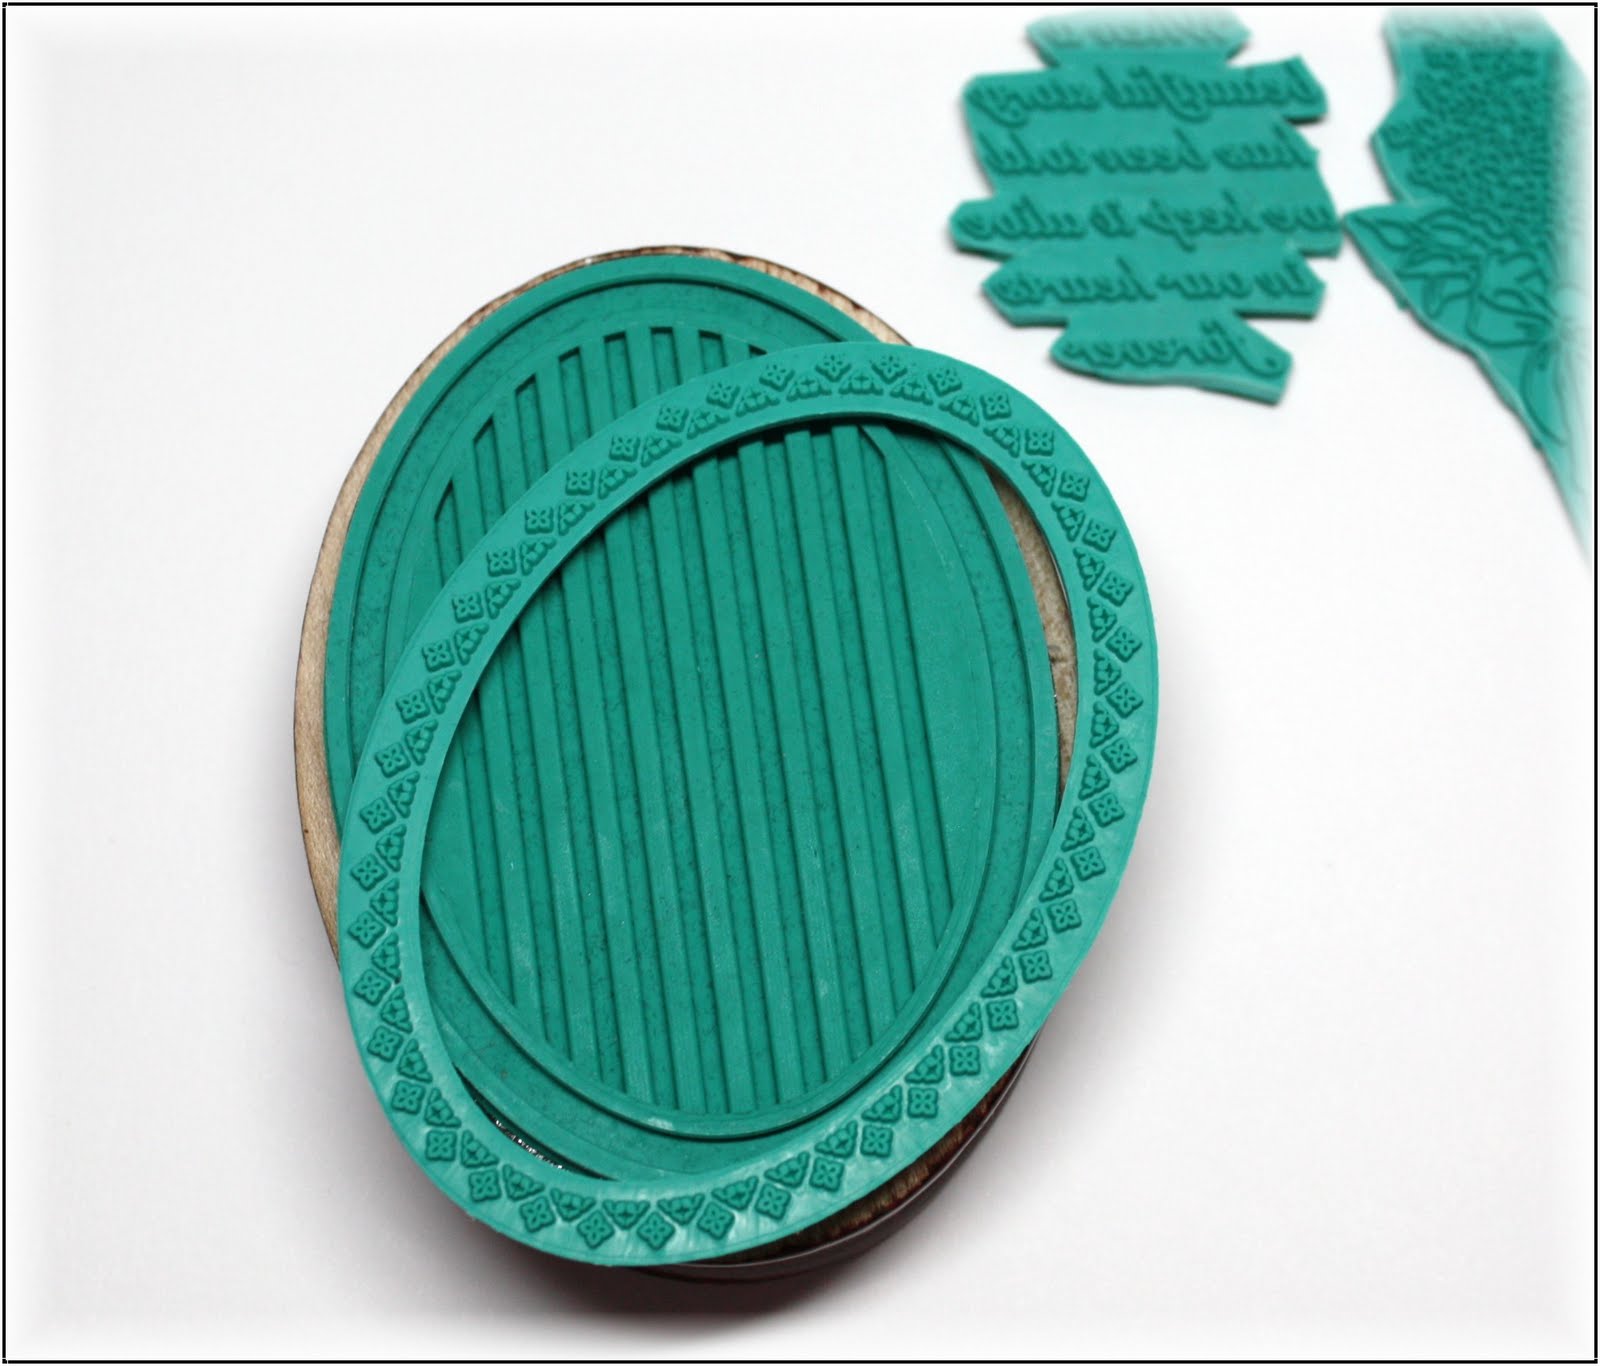
Below is a picture of the stamps in place and ready to be used. Don't worry you shouldn't end up with ink on the grooves unless you are using a pigment ink pad and you are pushing too hard into the pad. If that happens just use a Q-tip and clean it up.

I didn't do much shopping yesterday but I did a lot of stamping. I'll have several new cards to share with you soon but before I go I have to share with you a semi-disaster (ok maybe it wasn't a disaster because it worked out fine). I had made this card along with three others and I had them sitting on my desk, admiring them as I created more. When to my horrors I noticed this card laying face down on my light pink ink pad that I was using. Luckily it was only the upper left corner and I was able to wipe the ink off the dove. Since it was brushed metallic I think that's what saved me. I have a bad habit of not closing the lids on my pads as soon as I ink the stamp. I can't tell you how many times I have found a corner of my project brushed up against the ink pad. So ladies (and gents if there are any) make sure you keep you ink pad covered or at least at a safe distance from your project. Loreal can only cover so many gray hairs.
Have fun and enjoy!
~Kim


What a beautiful card; elegant and tasteful. And thanks for the tips on the stamps...I've never seen them before.
ReplyDelete